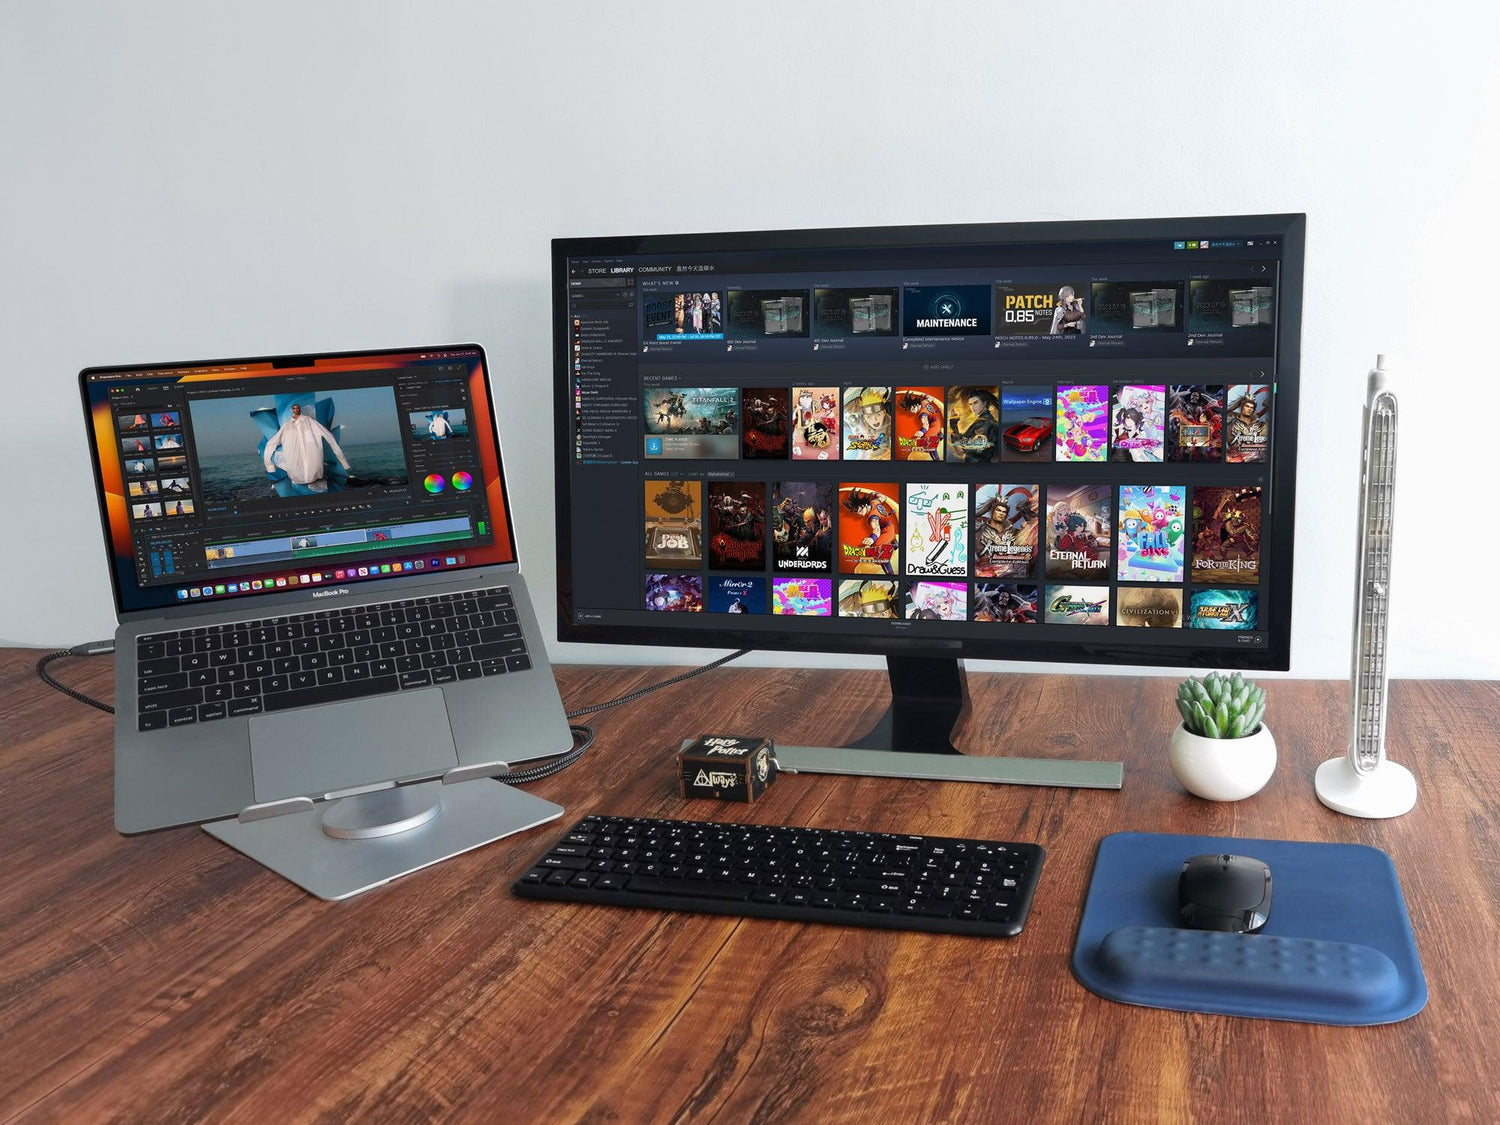
MacBooks have become the go-to choice for many professionals, but due to the unique characteristics of its chips and system, expanding external displays with a MacBook is different from that with regular computers. In this blog post, we'll cover some essential things you need to know about expanding your MacBook screen.

A Plug & Play Solution, easily stream 4K UHD content from your MacBook to your external screen with WARRKY USB C to HDMI/DisplayPort Cable/Adapter.
- For HDMI output, based on your requirements, for example, 2K@60Hz 1080P@120hz monitor, a 4K 30Hz USB C to HDMI cable/adapter will suffice.
- For DisplayPort output, a USB C to DP 1.2 cable supports 4K@60Hz display.

For MacBooks with M1 or M2 chips, only one external display can be connected through the C port. Even if you use a USB C to Dual HDMI Hubs or Adapter, it will only output two identical external displays. Therefore, using DisplayLink Manager is necessary to expand the screen. The DisplayLink Manager can bypass the limitation of M1 and M2 chips that only support a single display, and support dual displays. It converts USB data from the MacBook's Thunderbolt port into HDMI or VGA signals, expanding the video output.
For MacBooks with chips other than M1 and M2, you can use two USB C to HDMI/DisplayPort cables/adapters to expand your screen. However, like the MacBooks with M1 or M2 chips, using a USB C to Dual HDMI Hubs or Adapter will only output two identical external displays.

Expanding your MacBook screen can be a challenge, but by understanding the limitations of the MacOS, and using DisplayLink Manager, you can expand your screen and increase your productivity. By using the right cables and adapters, you can expand your MacBook's screen to meet your needs.


Leave a comment
All comments are moderated before being published.
This site is protected by hCaptcha and the hCaptcha Privacy Policy and Terms of Service apply.